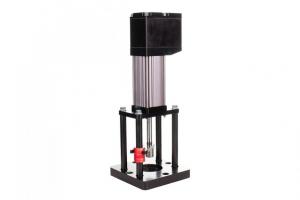

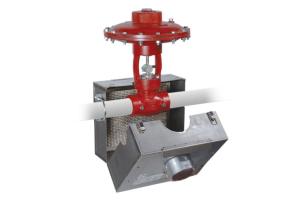
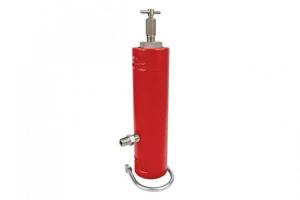


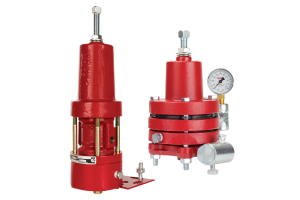
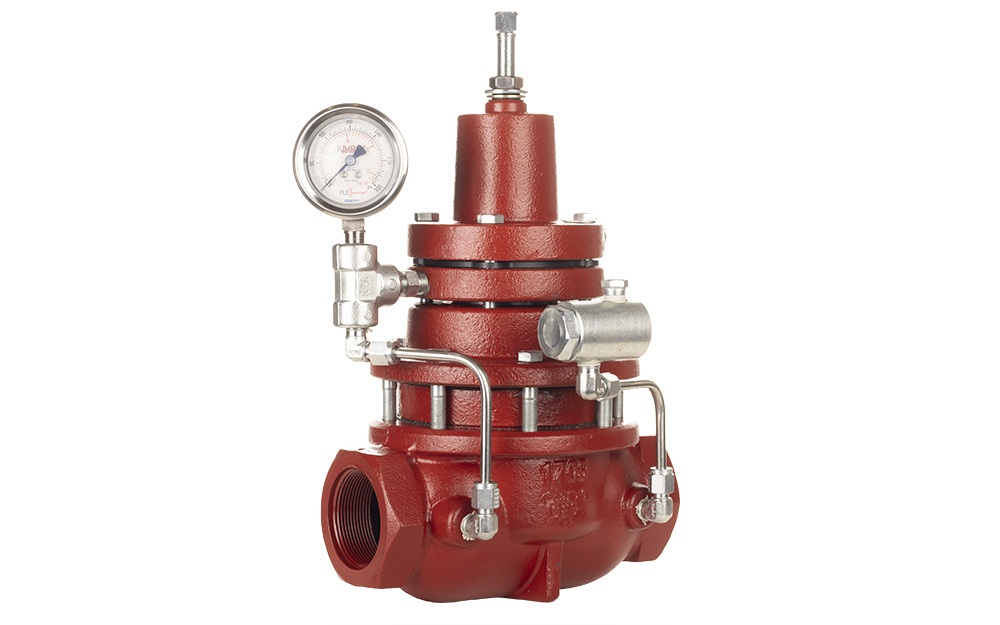

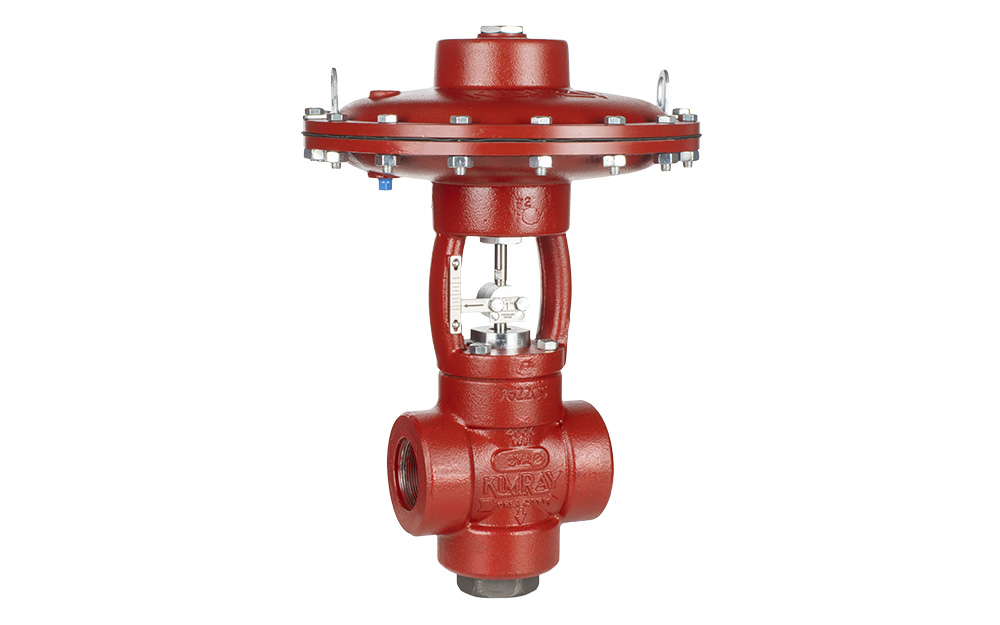
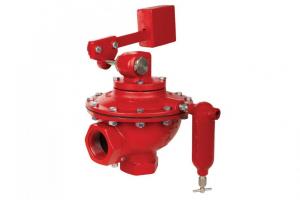
Pneumatic Low Pressure Control Valves can be used for gas and liquid on low-pressure separators, emulsion treaters, and other liquid accumulators.
This line of valves is divided into three categories:
- single acting (also called reverse acting)
- double acting (direct acting)
- adjustable double acting (adjustable acting)

Since the internal components and repair processes for these valves are alike, in this video Jeff shows how to repair all three types.
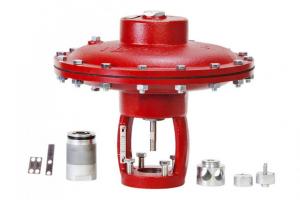
How to Repair an adjustable double acting (ABC2) low pressure control valve

Kimray Tools Needed:
- RHE repair kit (for ABC2)
- Removable seat tool (1349SW) (if seat is damaged)
- Kimray stem guide (6431)
Other Tools Needed:
- Marker (optional)
- 9/16” wrench (for adjusting screw)
- 7/16” wrench
- 3/16” Hex Wrench
- Multi-purpose lubricant/grease
- Flathead screwdriver
- Any kind of light gravity motor oil
- Pick
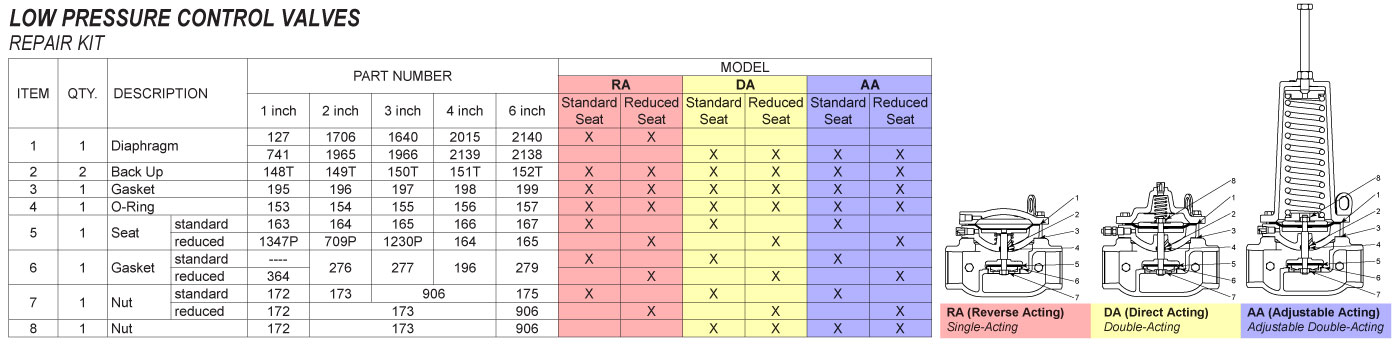
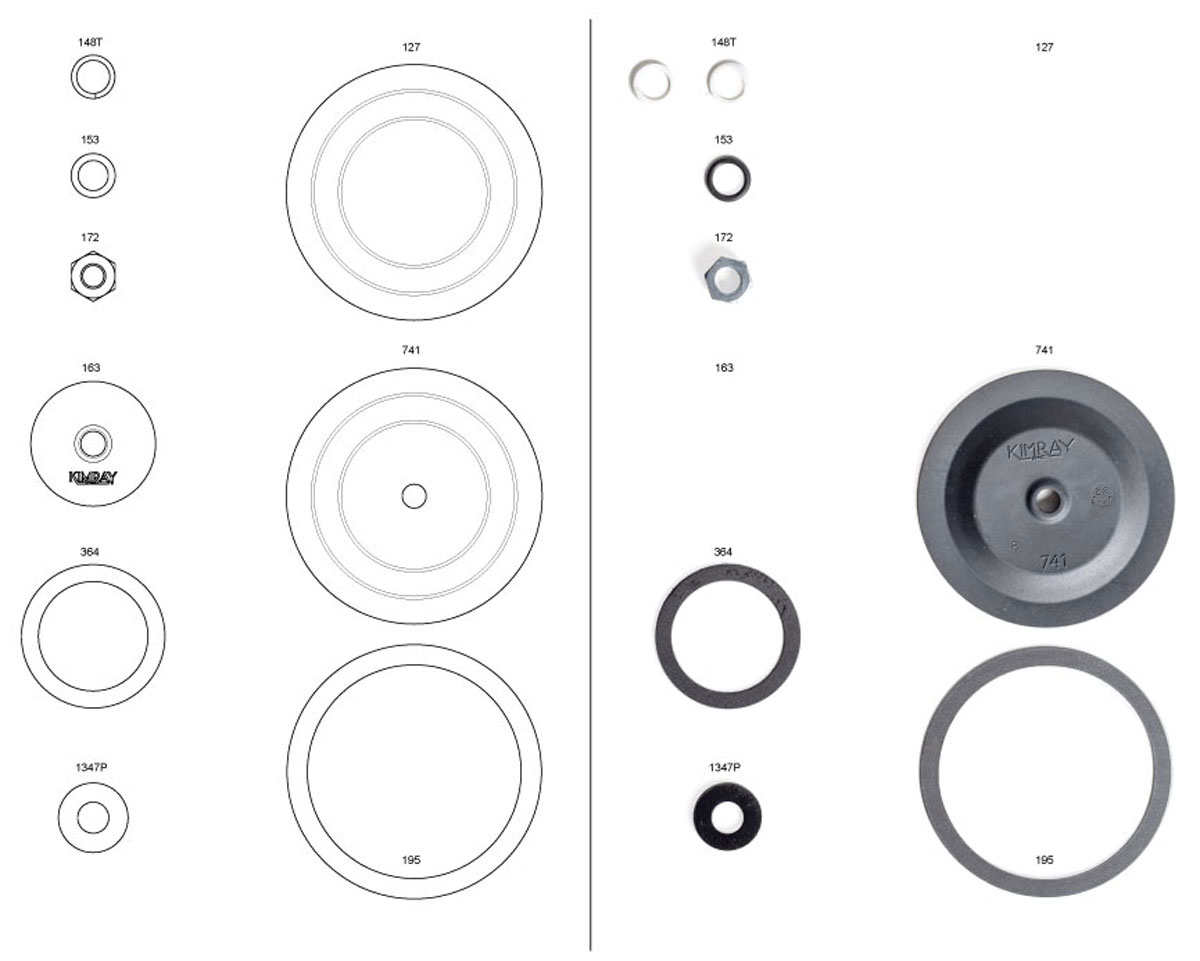
Kit sheets can be used for multiple repair kits. You may not have all the components in your kit that are shown on the included sheet. The RHE will not have a 163 or 127.
The (364) gasket is only used if you are also replacing the removeable seat.
Disassembly (ABC2):
- Before disassembling, make a mark down the bonnet, lower housing and body so that when you reassemble later, you’ll know exactly how they line up.
- Using a 9/16” wrench, loosen the adjustment screw to relieve spring tension.
- Take off the bonnet by removing the six bolts with a 3/16” hex wrench.
- Remove the spring and spring plate, then lift off the lower housing.
- Push up on the seat to raise the stem and diaphragm.
- Dispose of the oil in the lower housing then set it aside.
- Remove and discard the gasket. It may either be on the body or stuck to the lower housing.
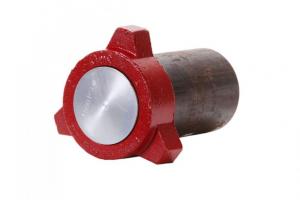
- Inspect the seat to make sure it is not damaged.
- The 1” full port does not have a removeable seat, so if there’s damage, you’ll need to replace the (2033) body. If the reduced port removeable seat is damaged, it will need to be taken out with a Kimray removeable seat tool (1349SW) and replaced with a new (1349) seat. This part is not included in your repair kit and will need to be ordered separately. If it’s not damaged, continue with the repair.
- Put the lower housing upside down in the vise, gripped by the nut.
- Use a flathead screwdriver to unthread the stem.
- Now remove the upper diaphragm plate, diaphragm, and lower diaphragm plate. Discard the diaphragm. Then remove the stem.
- Use a pick to remove the two backups and O-ring from the lower housing.
- Remove the nut from the vise and replace it with the stem.
- Now unthread the reduced ratio plug (1346) from the stem.
- Remove and discard the reduced seat, but keep the seat disc.
Assembly (ABC2)
- Replace the (1347P) reduced seat on the seat disc.
- Tighten the (1346) reduced ratio plug back into the seat disc until snug.
- Remove the stem and set aside for now.
- Stretch the (148T) Teflon backup slightly to make it look like a spring.
- Insert one end of the backup into the lower housing and use a pick to rotate it clockwise until it’s fully installed.
- Pinch and fold the (153) O-ring to make it easier to install.
- Push the O-ring and first Teflon backup all the way down to the bottom of the lower housing channel to make room for the last backup.
- Again, uncoil the Teflon backup, then insert it into the lower housing and rotate clockwise.
- Add grease to the Teflon backups and O-ring.
- Put the stem in the vise, gripping it by the seat disc.
- Slide the lower housing on to the stem.
- Slide the (736) upper diaphragm plate onto the stem, part number down. Use a Kimray Stem Guide if you have one.
- Then add the diaphragm, bevel side down.
- Add the (731) lower diaphragm plate, part number down.
- Now thread on the (172) nut.
- Put the valve body in the vise.
- Grease the top of the valve body, place the (195) gasket on top and grease it as well.
- Now add oil to the lower housing – enough to cover the communication hole. From here on, be careful not to tilt the housing so the oil does not pour out.
- Put the lower housing into the valve body, aligning your marks.
- Grease the upper diaphragm plate.
- Put on the spring and upper spring plate.
- Grease the top of the spring plate, if needed. Then replace the bonnet.
- Now thread in the bolts and tighten. Be sure to include the metal tag.
How to Repair a Double-Acting (direct) low pressure Control Valve (EUA3)

Kimray Tools Needed:
- RHE repair kit (for EUA3)
- Removable Seat Tool 1349SW (if seat is damaged)
- Kimray stem guide (6431)
Other Tools Needed:
- Marker (optional)
- 7/16” wrench (for adjusting screw)
- 3/16” Hex wrench
- Multi-purpose lubricant/grease
- Flathead screwdriver
- Any kind of light gravity motor oil
- Pick
Kit sheets can be used for multiple repair kits. You may not have all the components in your kit that are shown on the included sheet. The RHE will not have a 163 or 127.
The (364) gasket is only used if you are also replacing the removeable seat.
Disassembly (EUA3)
Repairing the EUA3 is a very similar process to the ABC2 above.
- You will need a 7/16” wrench to remove the bonnet bolts, but the rest of the disassembly will be the same.
Assembly (EUA3)
When assembling the EUA3, there are only a couple of differences:
- First, there is no upper spring plate.
- When assembling the bonnet, put pressure on the top to compress the spring as you hand start the bolts, tightening in a star pattern.
How to Repair a single-acting (reverse) low pressure control valve (EUA)

Kimray Tools Needed:
- RCM repair kit (for EUA)
- Removable Seat Tool (1349SW) (if seat is damaged)
- Kimray stem guide (6431)
Other Tools Needed:
- Marker (optional)
- 7/16” wrench (for adjusting screw)
- Multi-purpose lubricant/grease
- Flathead screwdriver
- Any kind of light gravity motor oil
- Pick
Disassembly (EUA)
- If you have previously connected fittings, make a mark down the bonnet, lower housing, and body so that when you reassemble, you’ll know how they go together.
- Use a 7/16” wrench to remove the bonnet bolts.
- Remove and discard the diaphragm.
- Lift off the lower housing and dispose of the oil.
- Remove and discard the gasket. It may be on the body or stuck to the lower housing.
- Inspect the seat to make sure it is not damaged.
- The 1” full port does not have a removeable seat, so if there’s damage, you’ll need to replace the 2033 body. If the reduced port removeable seat is damaged, it will need to be taken out with a Kimray removable seat tool (1349SW) and replaced with a new 1349 seat. This part is not included in your repair kit and will need to be ordered separately. If it’s not damaged, continue with the repair.
- Put the lower housing in the vise by the diaphragm plate.
- Use a 7/16” wrench to remove and discard the nut. If the stem unthreads from the plate instead, put the stem in the vise to remove the nut.
- Now remove the ratio plug and set it aside.
- Remove the soft seat and discard.
- Use a pick to remove and discard the two backups and O-ring from the lower housing.
Assembly (EAU)
- Stretch the Teflon backup slightly to make it look like a spring.
- Insert one end of the backup into the lower housing and use a pick to rotate it clockwise until it’s fully installed.
- Pinch and fold the O-ring to make it easier to install.
- Push the O-ring and first Teflon backup all the way down to the bottom of the lower housing channel to make room for the last backup.
- Uncoil the second Teflon backup, then insert it into the lower housing and rotate clockwise.
- Add grease to the Teflon backups and O-ring.
- With the stem in the vise, put the new (163) seat onto the seat disc.
- Put on the ratio plug you set aside earlier.
- Then hand tighten on the new (172) nut.
- Put the stem into the lower housing. Use a stem guide if you have one.
- Now put on the diaphragm plate, part number facing the lower housing.
- Secure the diaphragm plate in the vice.
- Now tighten the nut. You know it’s tight enough when your seat has expanded to the walls of the seat disc. Be careful not to over-tighten.
- Put the body back in the vise.
- Grease the surface of the body where the gasket will set, then add the (195) gasket. Apply more grease to the top.
- Put the lower housing on the valve body, making sure to align your marks.
- Add oil to the lower housing – enough to cover the communication hole.
- Put on the (127) diaphragm, bevel side down.
- Now install the bonnet with the bonnet bolts and a 7/16” wrench.
For further questions about any of these processes, contact our product applications team.
For questions about ordering Kimray tools, parts or repair kits, contact your local Kimray store or authorized distributor.
